LOCATED, AND RESOLVED
Oraxen Guide
This guide assumes you have a good understanding on how resource packs work and how to use Oraxen.
Plugin:
Item Creation
First create your Oraxen block. For this I am using the note block mechanic. My item looks like this:
backrooms_wallpaper:
  displayname: <white>Backrooms Wallpaper
  material: PAPER
  Pack:
    generate_model: true
    parent_model: backrooms:level/level0_lobby/backrooms_wallpaper
    textures:
    - backrooms:levels/level0_lobby/backrooms_wallpaper
    custom_model_data: 27138
  Mechanics:
    noteblock:
      block_sounds:
        place_sound: block.mud_bricks.break
        break_sound: block.mud_bricks.break
        hit_sound: block.mud_bricks.hit
        step_sound: block.mud_bricks.step
        fall_sound: block.mud_bricks.fall
        volume: 0.8 # Default: 0.8
        pitch: 0.8 # Default: 0.8
      custom_variation: 15
      model: backrooms:levels/level0_lobby/backrooms_wallpaper
      hardness: 9999
      drop:
        silktouch: false
        loots:
          - oraxen_item: backrooms_wallpaper
          probability: 1.0
If you want a block to be unbreakable, you can set a high hardness.
hardness: 9999
Getting your Blockstates
If you successfully implemented your Oraxen block in game, give yourself the item with the Oraxen give command:
/oraxen give @s backrooms_wallpaper
Now place your Oraxen block and press F3.
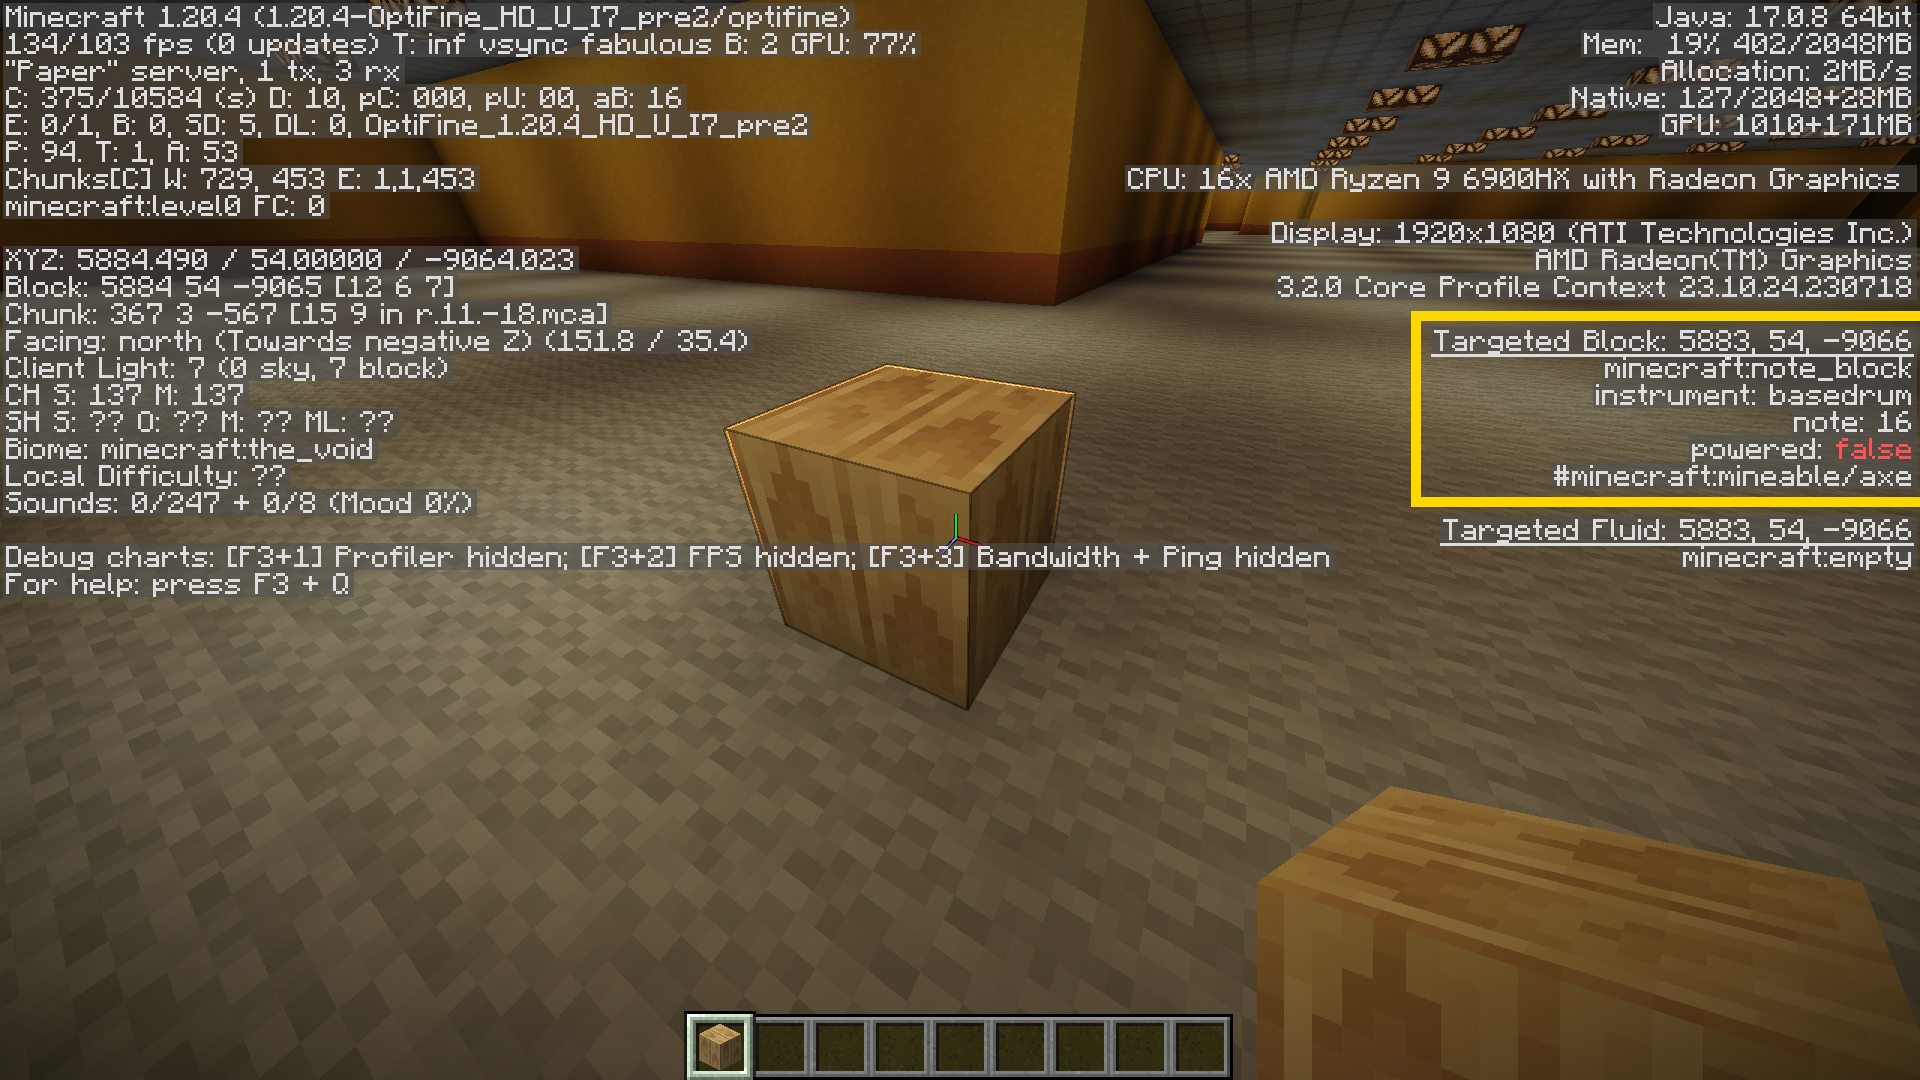
As you can see, in the yellow border of the screenshot, you are able to see what the block truely is, a note block with a specific blockstate. Note this down, we will need that next.
minecraft:note_block
instrument: basedrum
note: 16
powerd: false
Then note that information down like in this format.
minecraft:note_block[instrument=basedrum,note=16,powered=false]
blocks.yml
Before changing blocks inside the block.yml config file, be sure your server is offline. You will need to delete the world for the new blocks to generate in the world. In this guide we will change blocks in level 0 and delete that world to generate new chunks with the new block.
For the custom block we added previously in this guide, edit the lines as follows:
Level0:
Params:
Noise-Wall-Freq: 0.022
Noise-Wall-Octave: 2
Noise-Wall-Gain: 0.1
Noise-Wall-Lacun: 0.4
Noise-Wall-Strength: 2.28
Noise-Loot-Freq: 0.1
Thresh-Wall-L: 0.38
Thresh-Wall-H: 0.5
Thresh-Loot: 0.65
Blocks:
Wall: minecraft:note_block[instrument=basedrum,note=16,powered=false]
Wall-Base: minecraft:orange_terracotta
Wall-Outlet: minecraft:pink_terracotta
SubFloor: minecraft:oak_planks
SubCeiling: minecraft:oak_planks
Carpet: minecraft:light_gray_wool
Ceiling: minecraft:smooth_stone_slab[type=top]
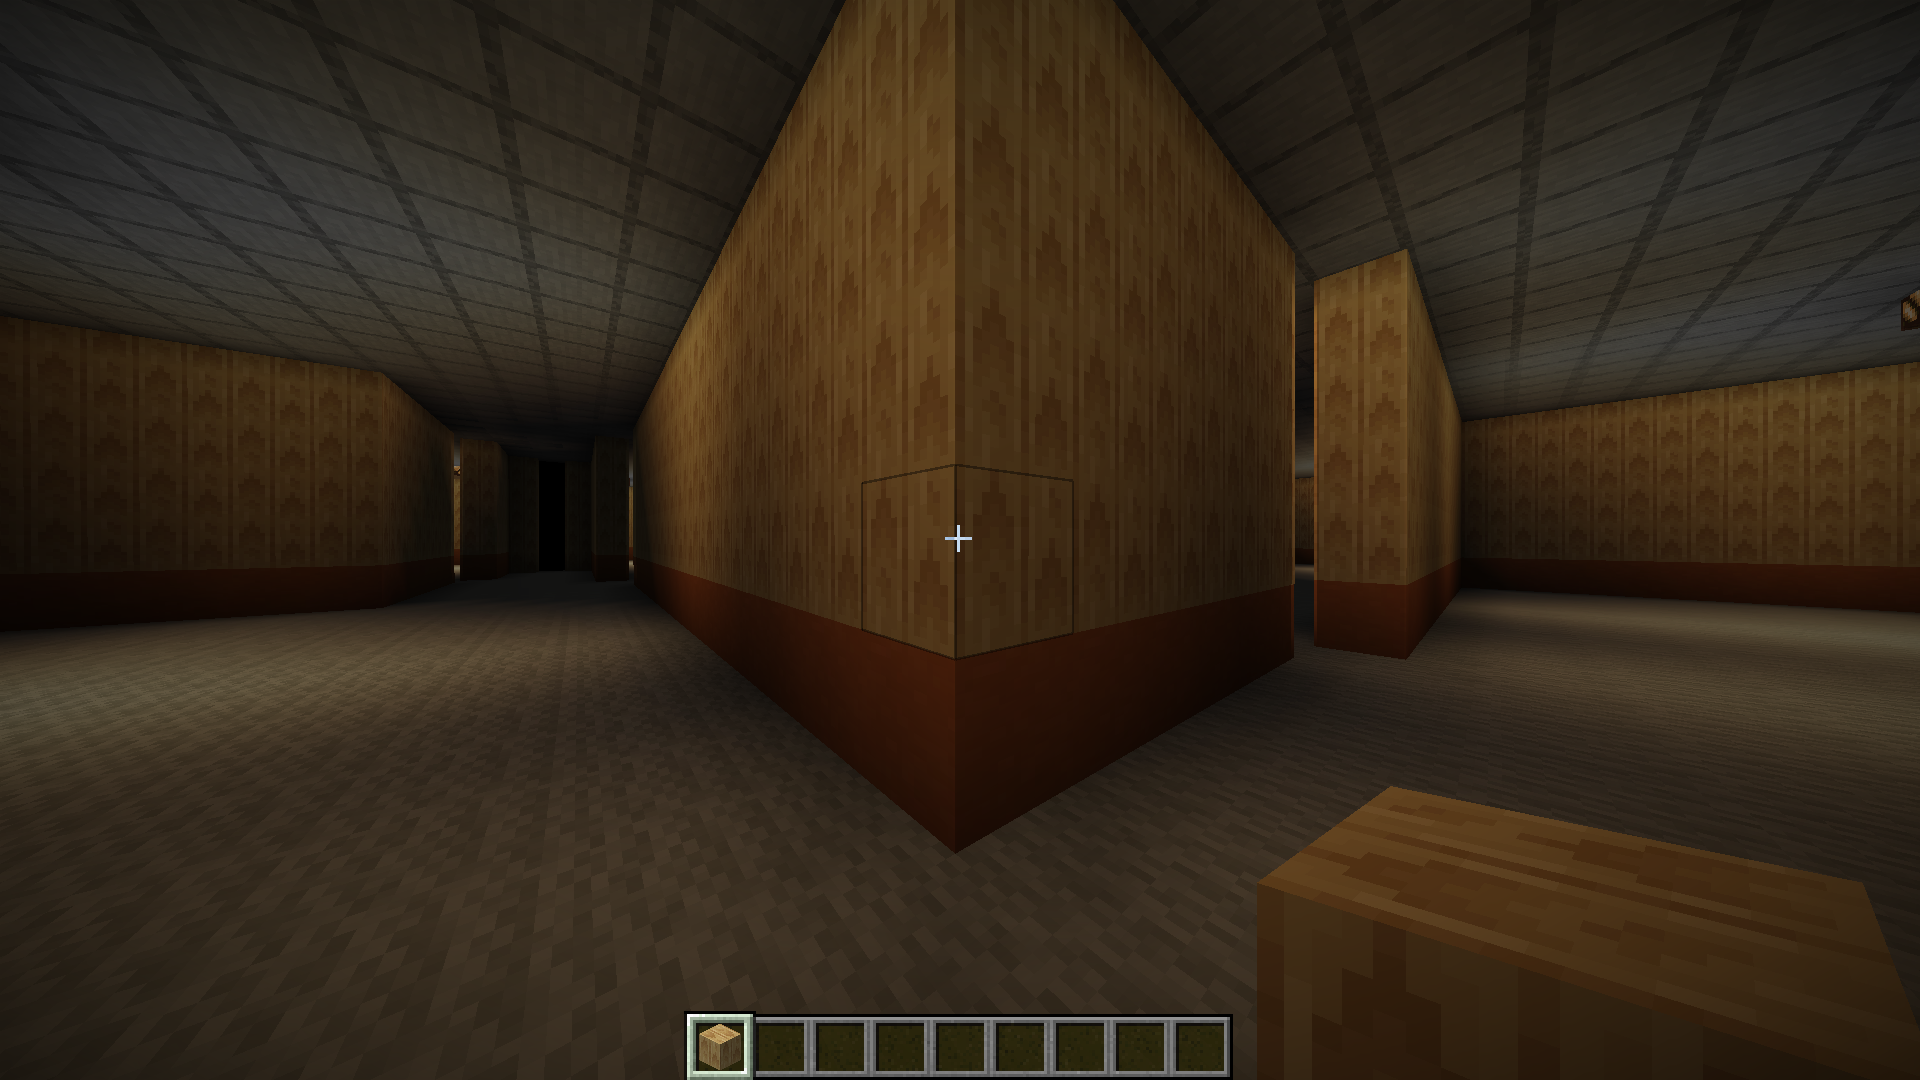
Now save it and start your server. If you have deleted the level0 world or explore to generate new chunks, you will see your new Oraxen block.
Mythic Crucible and Items Adder
Mythic Crucible and Items Adder both use the note block mechanic, so that means your custom block is just like Oraxen, a note block with a specific blockstate. It should work similar in these plugins.